

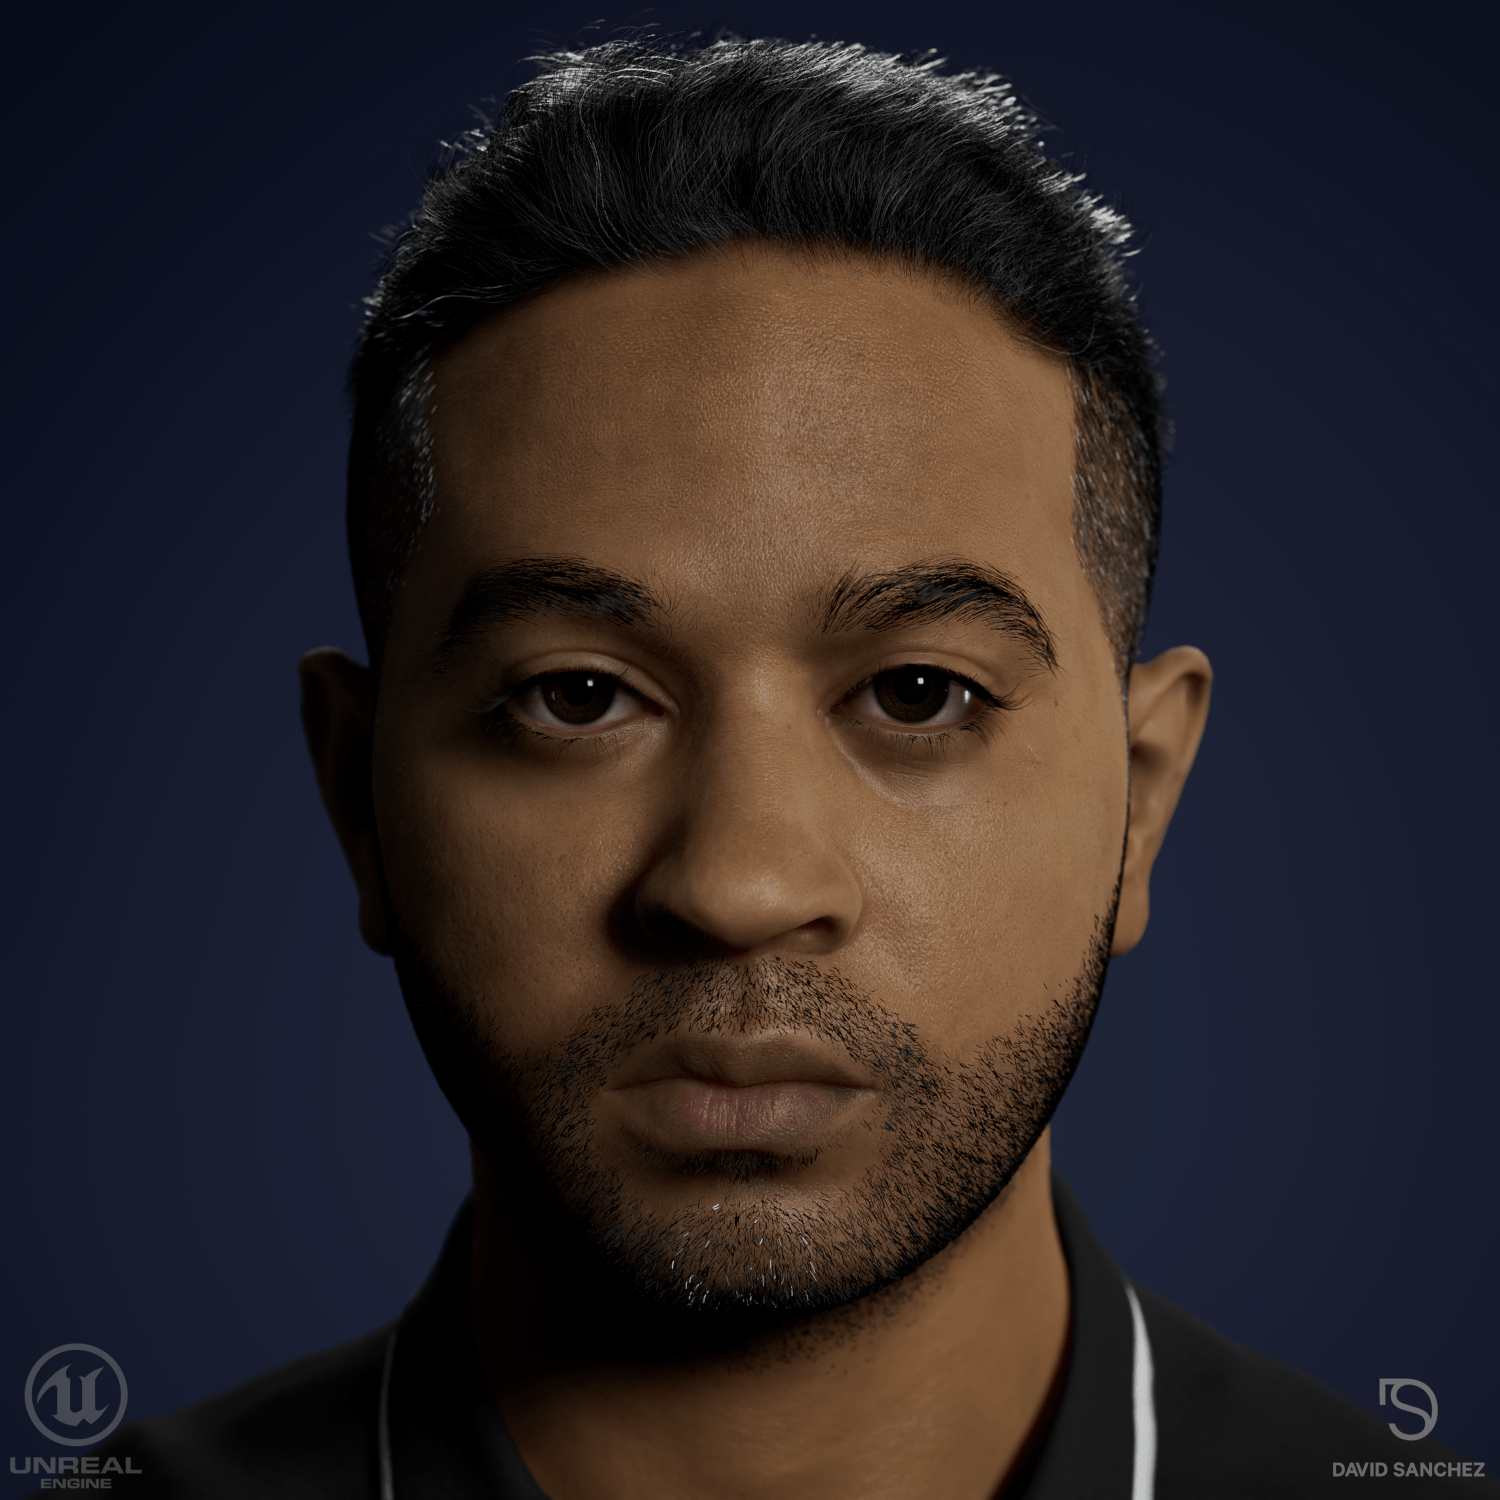
David 3D Portrait
I wanted to do a digital portrait of myself. I started with scanning and then I moved on to doing a production asset. The groom was next and it was the biggest challenge for me, it took me some time to create having to redo it a few times. I found separating the hair into multiple layers was the only way to get it to work properly. I also took an HDRI (High Dynamic Range Image) at the same spot where I took the reference photos to use for lighting in CG. The amount of time and effort I spent paid off in the end. ![]()
Check out my scanning services at https://ar3astudio.com/
Modeled in Blender 3.0/ Wrap3D/ Zbrush
Texture done in Substance Painter
Final render in Blender 3.0
Color grade in Nuke


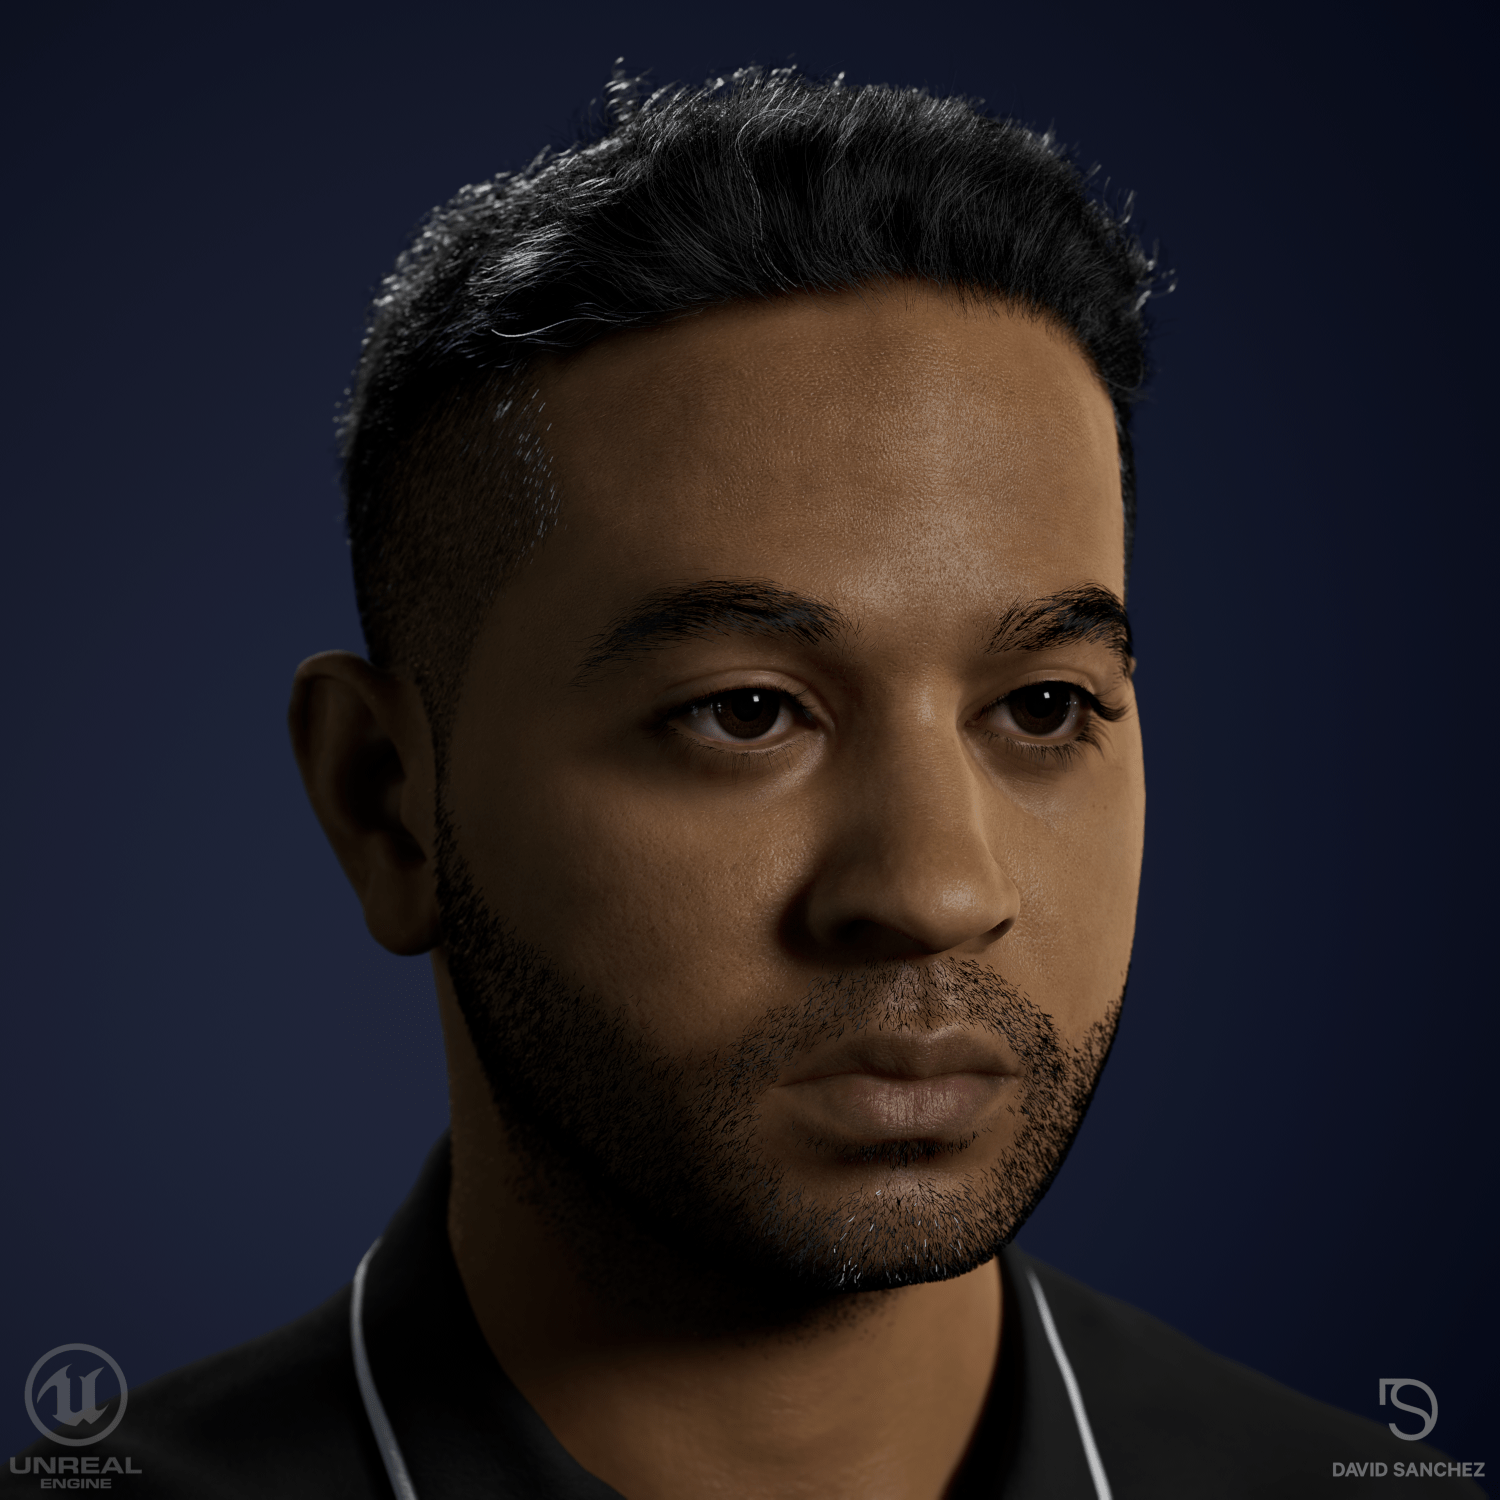
David 3D Portrait
I wanted to do a digital portrait of myself. I started with scanning myself and then I moved on to doing a production asset. The groom was next and it was the biggest challenge for me, it took me some time to create having to redo it a few times. I found separating the hair into multiple layers was the only way to get it to work properly. The amount of time and effort I spent paid off in the end. ![]()
Check out my scanning services at https://ar3astudio.com/
Modeled in Blender 3.0/Wrap3D/Zbrush
Texture done in Substance Painter
Final render in Blender 3.0
Color grade in Nuke
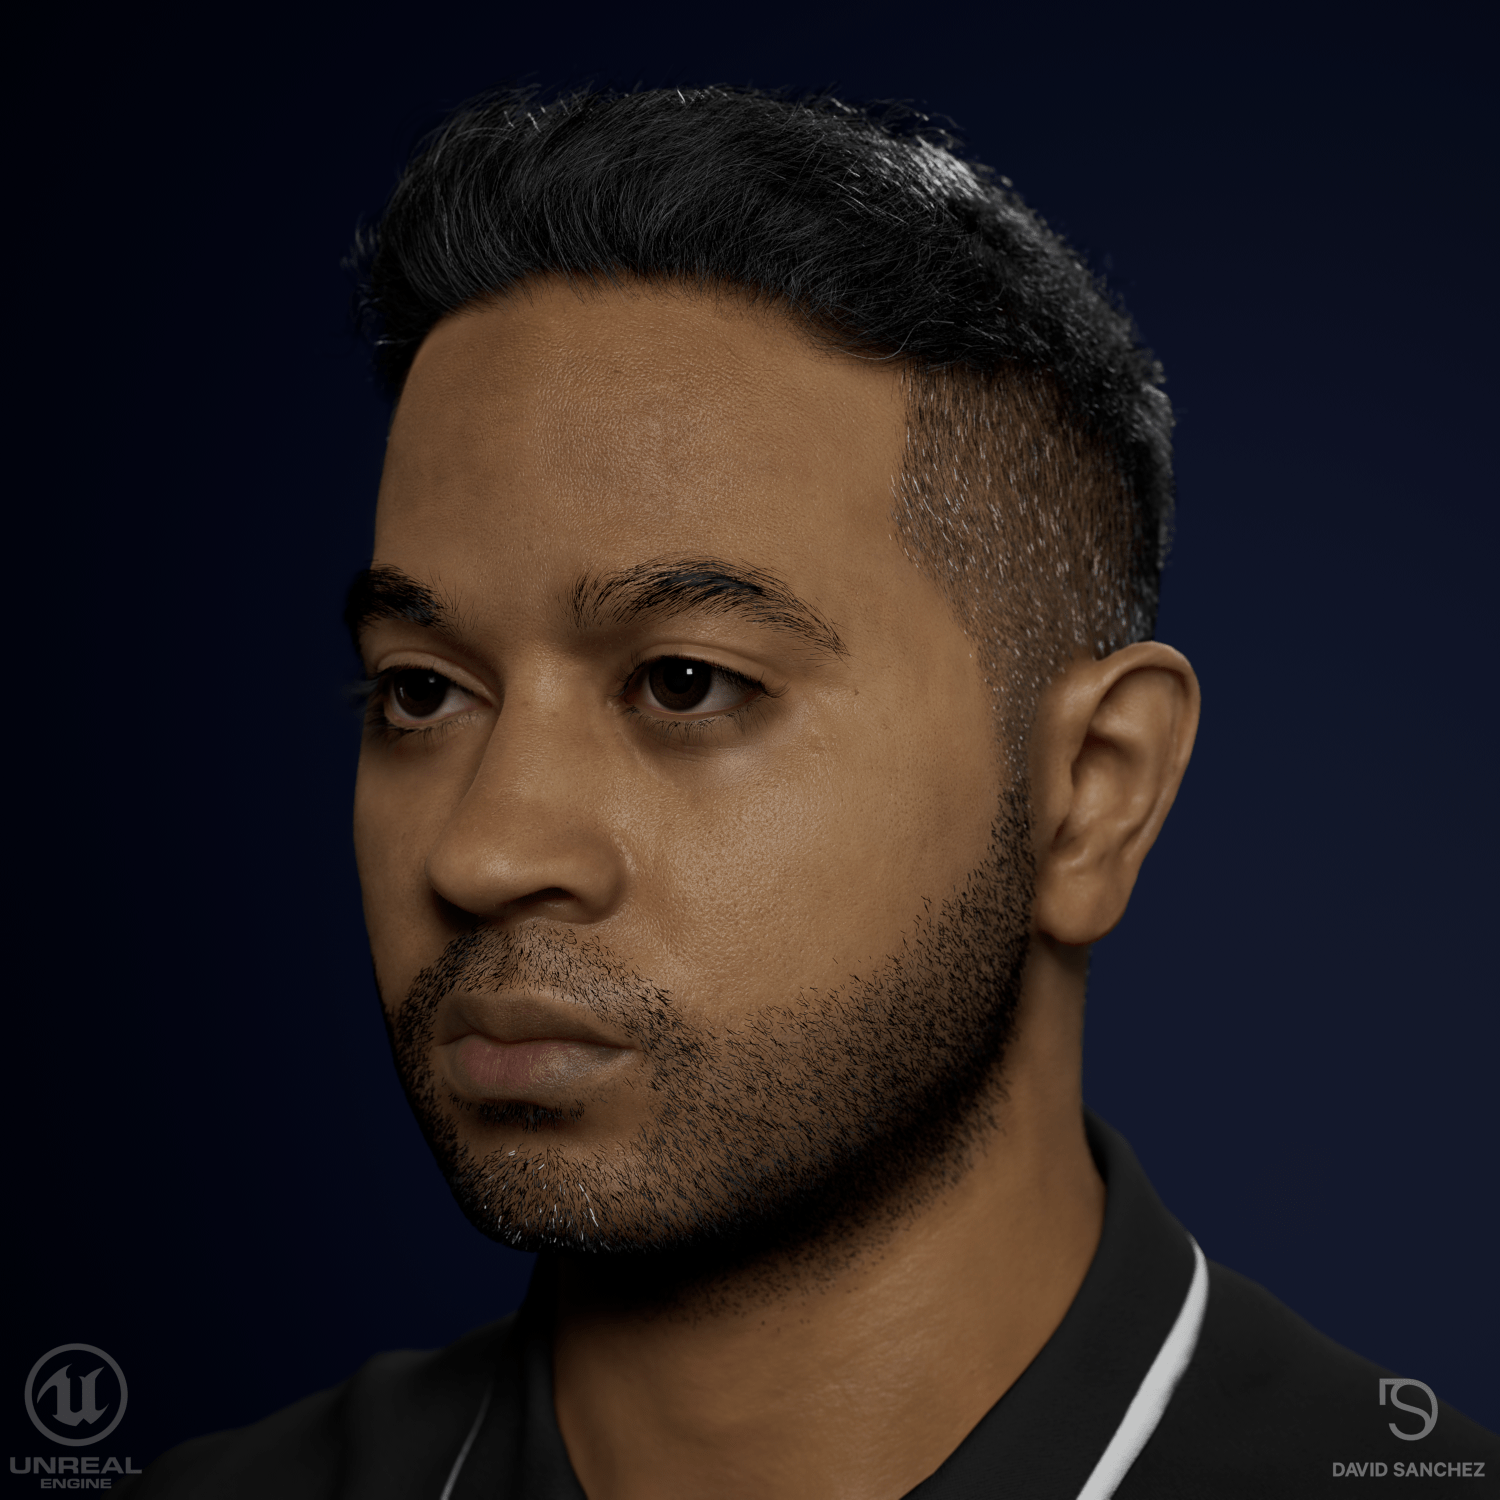