

Pujin 3D Portrait
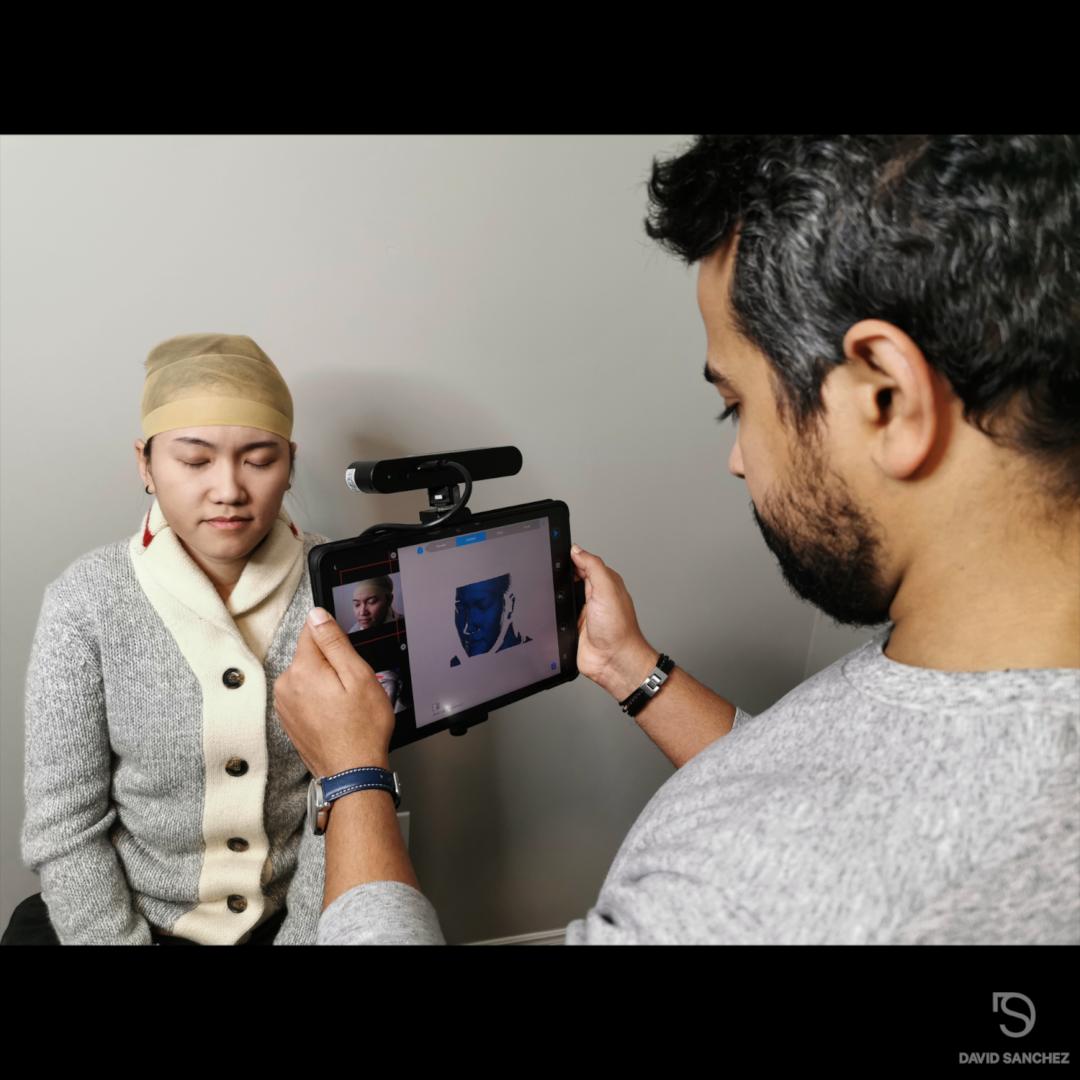
In order to improve my workflow, I wanted to a CG portrait of my friend. With a few improvements, I began using the same approach as for my self-portrait. Before moving on to a production asset, I first scanned and took cross-polarization pictures. I did the groom using a brand-new addon called Medusa Nodes. It was much simpler than using Blender’s geo node. In order to use the reference photographs for lighting in CG, I took another HDRI (High Dynamic Range Image) at the same location. While creating these portraits, I’m learning a lot while improving my technique. I’m eager to get onto the next one.
Check out my scanning services at https://ar3astudio.com/
Modeled in Blender 4.0/ Wrap3D/ Zbrush
Texture done in Substance Painter
Final render in Blender 4.0
Color grade in Nuke


Pujin 3D Portrait
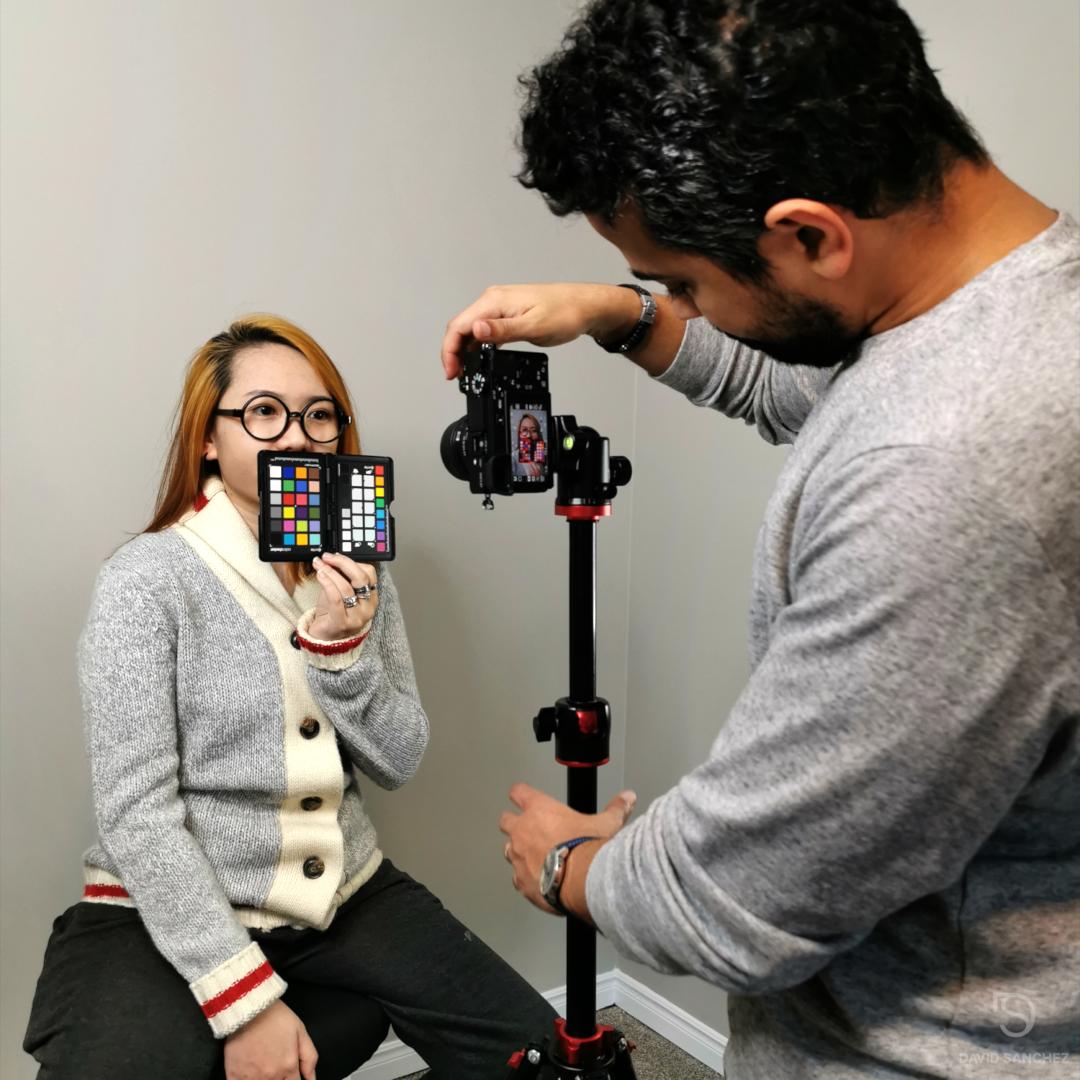
In order to improve my workflow, I wanted to a CG portrait of my friend. With a few improvements, I began using the same approach as for my self-portrait. Before moving on to a production asset, I first scanned and took cross-polarization pictures. I did the groom using a brand-new addon called Medusa Nodes. It was much simpler than using Blender’s geo node. In order to use the reference photographs for lighting in CG, I took another HDRI (High Dynamic Range Image) at the same location. While creating these portraits, I’m learning a lot while improving my technique. I’m eager to get onto the next one.
Check out my scanning services at https://ar3astudio.com/
Modeled in Blender 4.0/Wrap3D/Zbrush
Texture done in Substance Painter
Final render in Blender 4.0
Color grade in Nuke
Pujin 3D Portrait
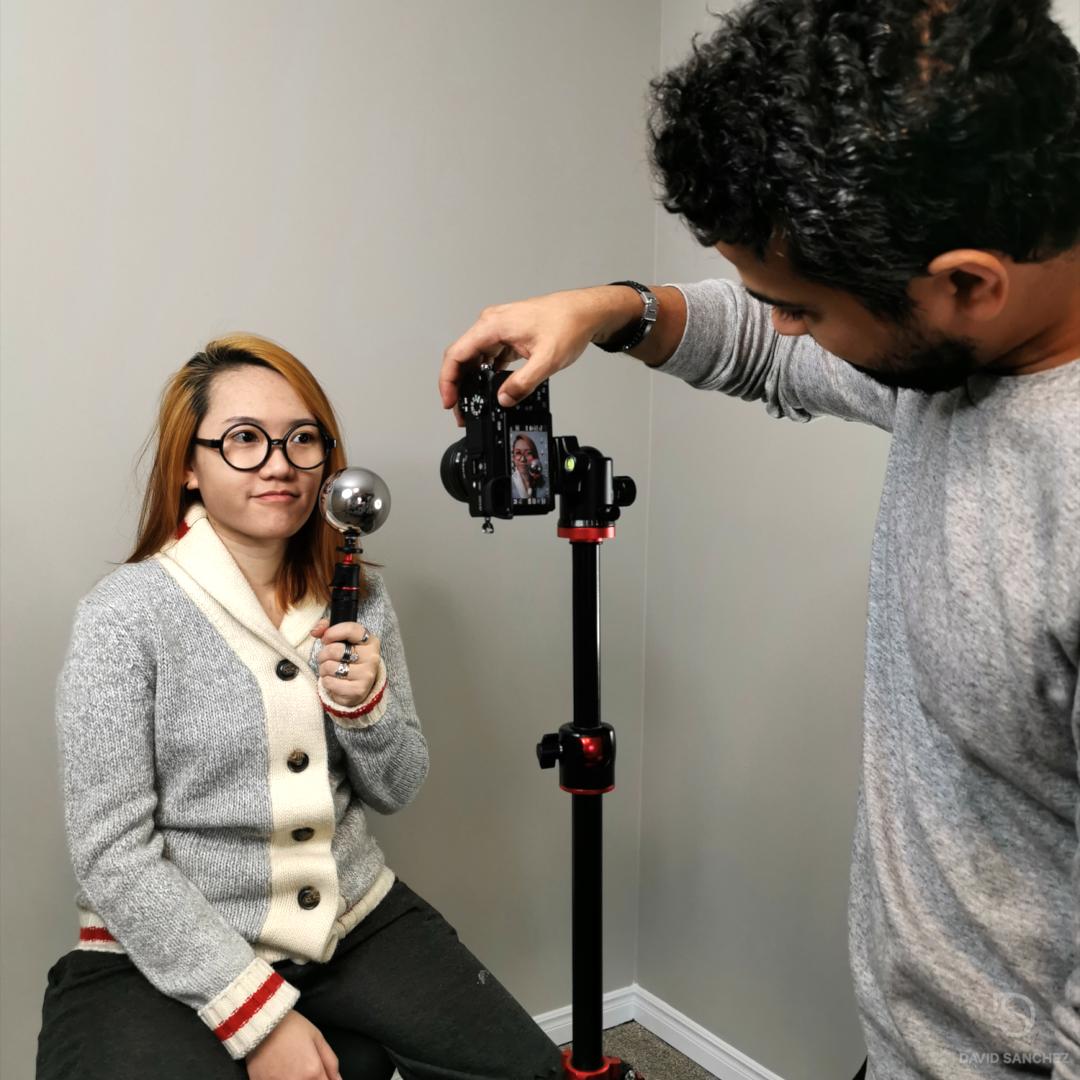
In order to improve my workflow, I wanted to a CG portrait of my friend. With a few improvements, I began using the same approach as for my self-portrait. Before moving on to a production asset, I first scanned and took cross-polarization pictures. I did the groom using a brand-new addon called Medusa Nodes. It was much simpler than using Blender’s geo node. In order to use the reference photographs for lighting in CG, I took another HDRI (High Dynamic Range Image) at the same location. While creating these portraits, I’m learning a lot while improving my technique. I’m eager to get onto the next one.
Check out my scanning services at https://ar3astudio.com/
Modeled in Blender 4.0/Wrap3D/Zbrush
Texture done in Substance Painter
Final render in Blender 4.0
Color grade in Nuke